


Yes, putting time and love into the home you want to create is such a magical thing, but if you’re like me, you’re also SO impatient when it comes to designing. I am literally that person that looks up tracking numbers two hours after placing an order ????. Also, I honestly just wanted to challenge myself and see how fast I could actually transform a space.
GET THE LOOK


Was I able to do everything I wanted in this space? No. If I really put time into this room, I would have probably painted the entire room another shade of white, done some heavy carpet cleaning, added a shelving unit for the back wall, etc. However, since this was a “throwaway room,” I did what I felt I could do in under 24 hours if that makes sense?
Disclaimer: the dresser I ordered didn’t arrive in time so unfortunately, the end reveal just won’t have a dresser ????
Some background on the room: This “bedroom” is actually at my parent’s house. They have guest bedrooms elsewhere in the house (that are nicely decorated, btw); however, this room is just an extra “bonus room.” My dad created this room when my grandmother was diagnosed with ALS. We needed to create an apartment in the basement for the hospice nurse to live in. Fourteen years later, this room turned from a bedroom-to-disastrous storage room.

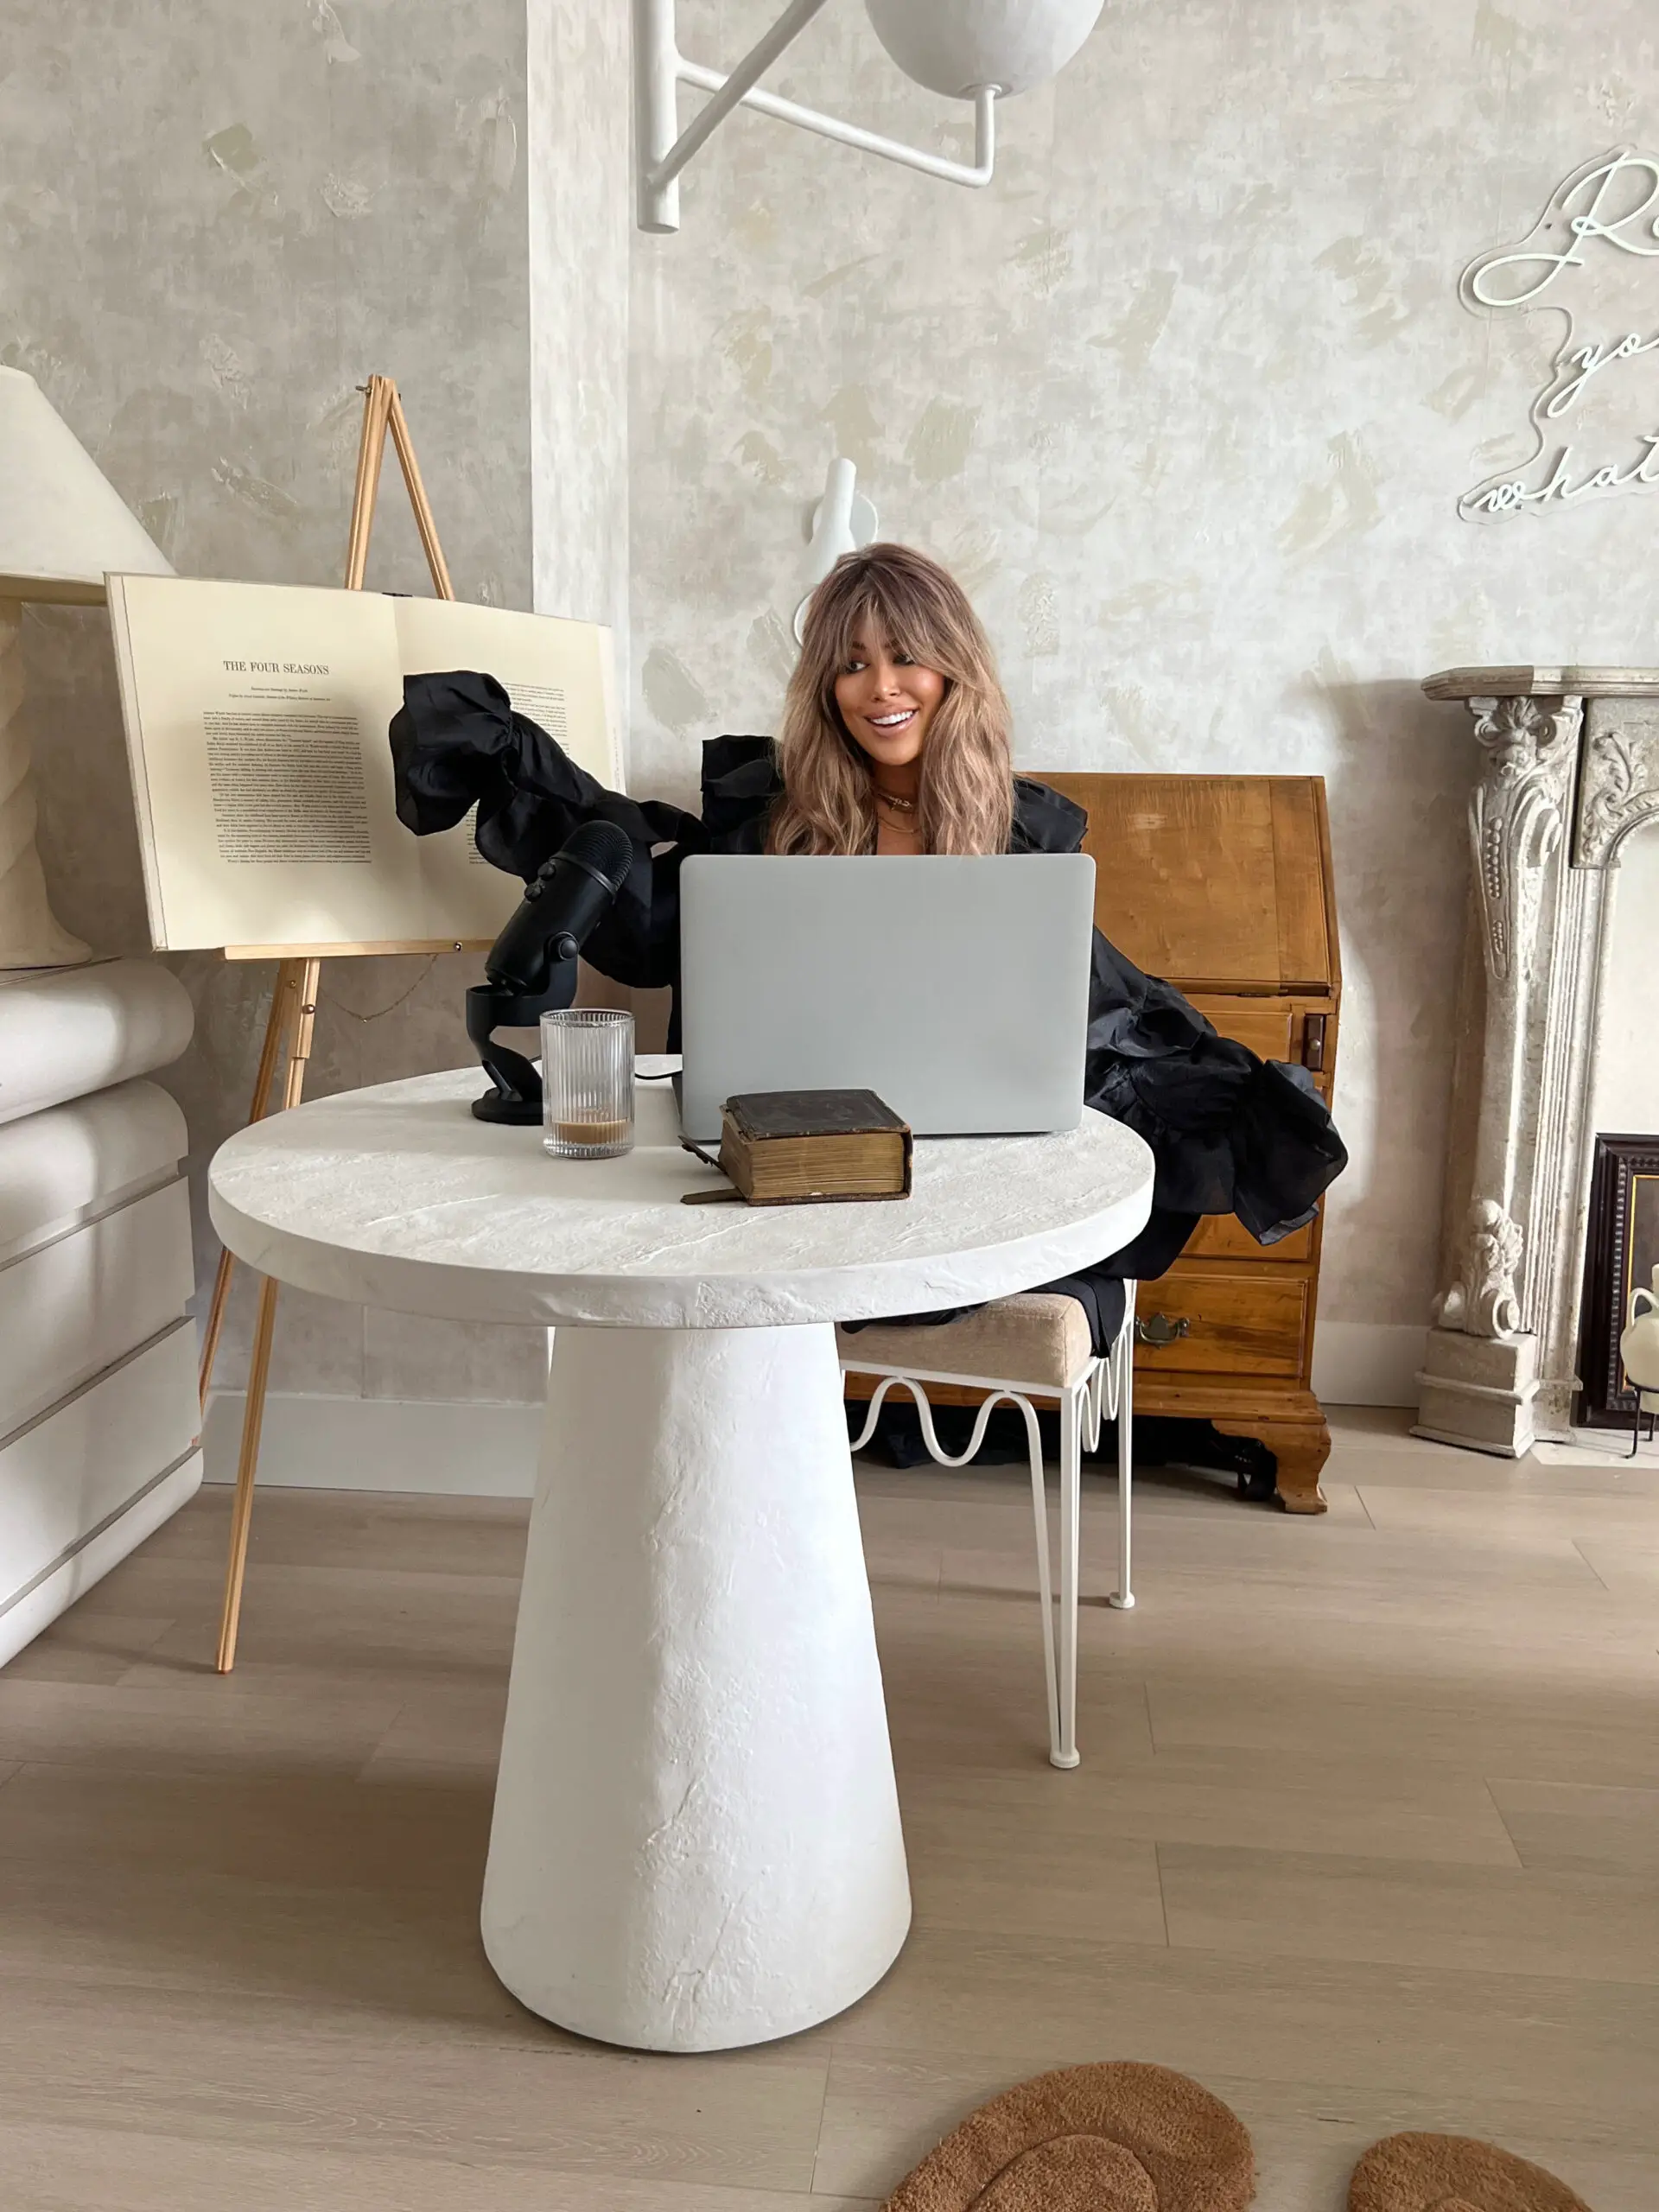
In my vlog about decorating this room (on IGTV!), you might notice something familiar on the right side of the room ???? This is where I’ve been doing all my TV interviews. My parents basically used this room as a storage space and told me I could do whatever I needed to in this room, so, I took that to my advantage and turned it into a little studio! For now, that area is staying. BUT, as soon as I head back to NYC, the dresser that didn’t arrive on time will be placed there.
Although we have guest rooms in the house, I figured it doesn’t hurt to have another one. We have family and friends stay all the time, so anther room for someone to stay in is definitely a plus in our family.
The rules: I only had 24 hours to transform this bedroom. I was able to order anything I want beforehand, but any furniture assembly and furniture placement couldn’t happen until the challenge started. I was not allowed to step foot into the room and add ANYTHING until the challenge started (unless it was to measure). Was it a success? Yes, I believe it was! And the best part? I transformed it for under $800 and in under 24 hours. I could have completed it for cheaper, but there were some must-have pieces that I wanted. Plus, some of these items can move throughout the house if-needed.


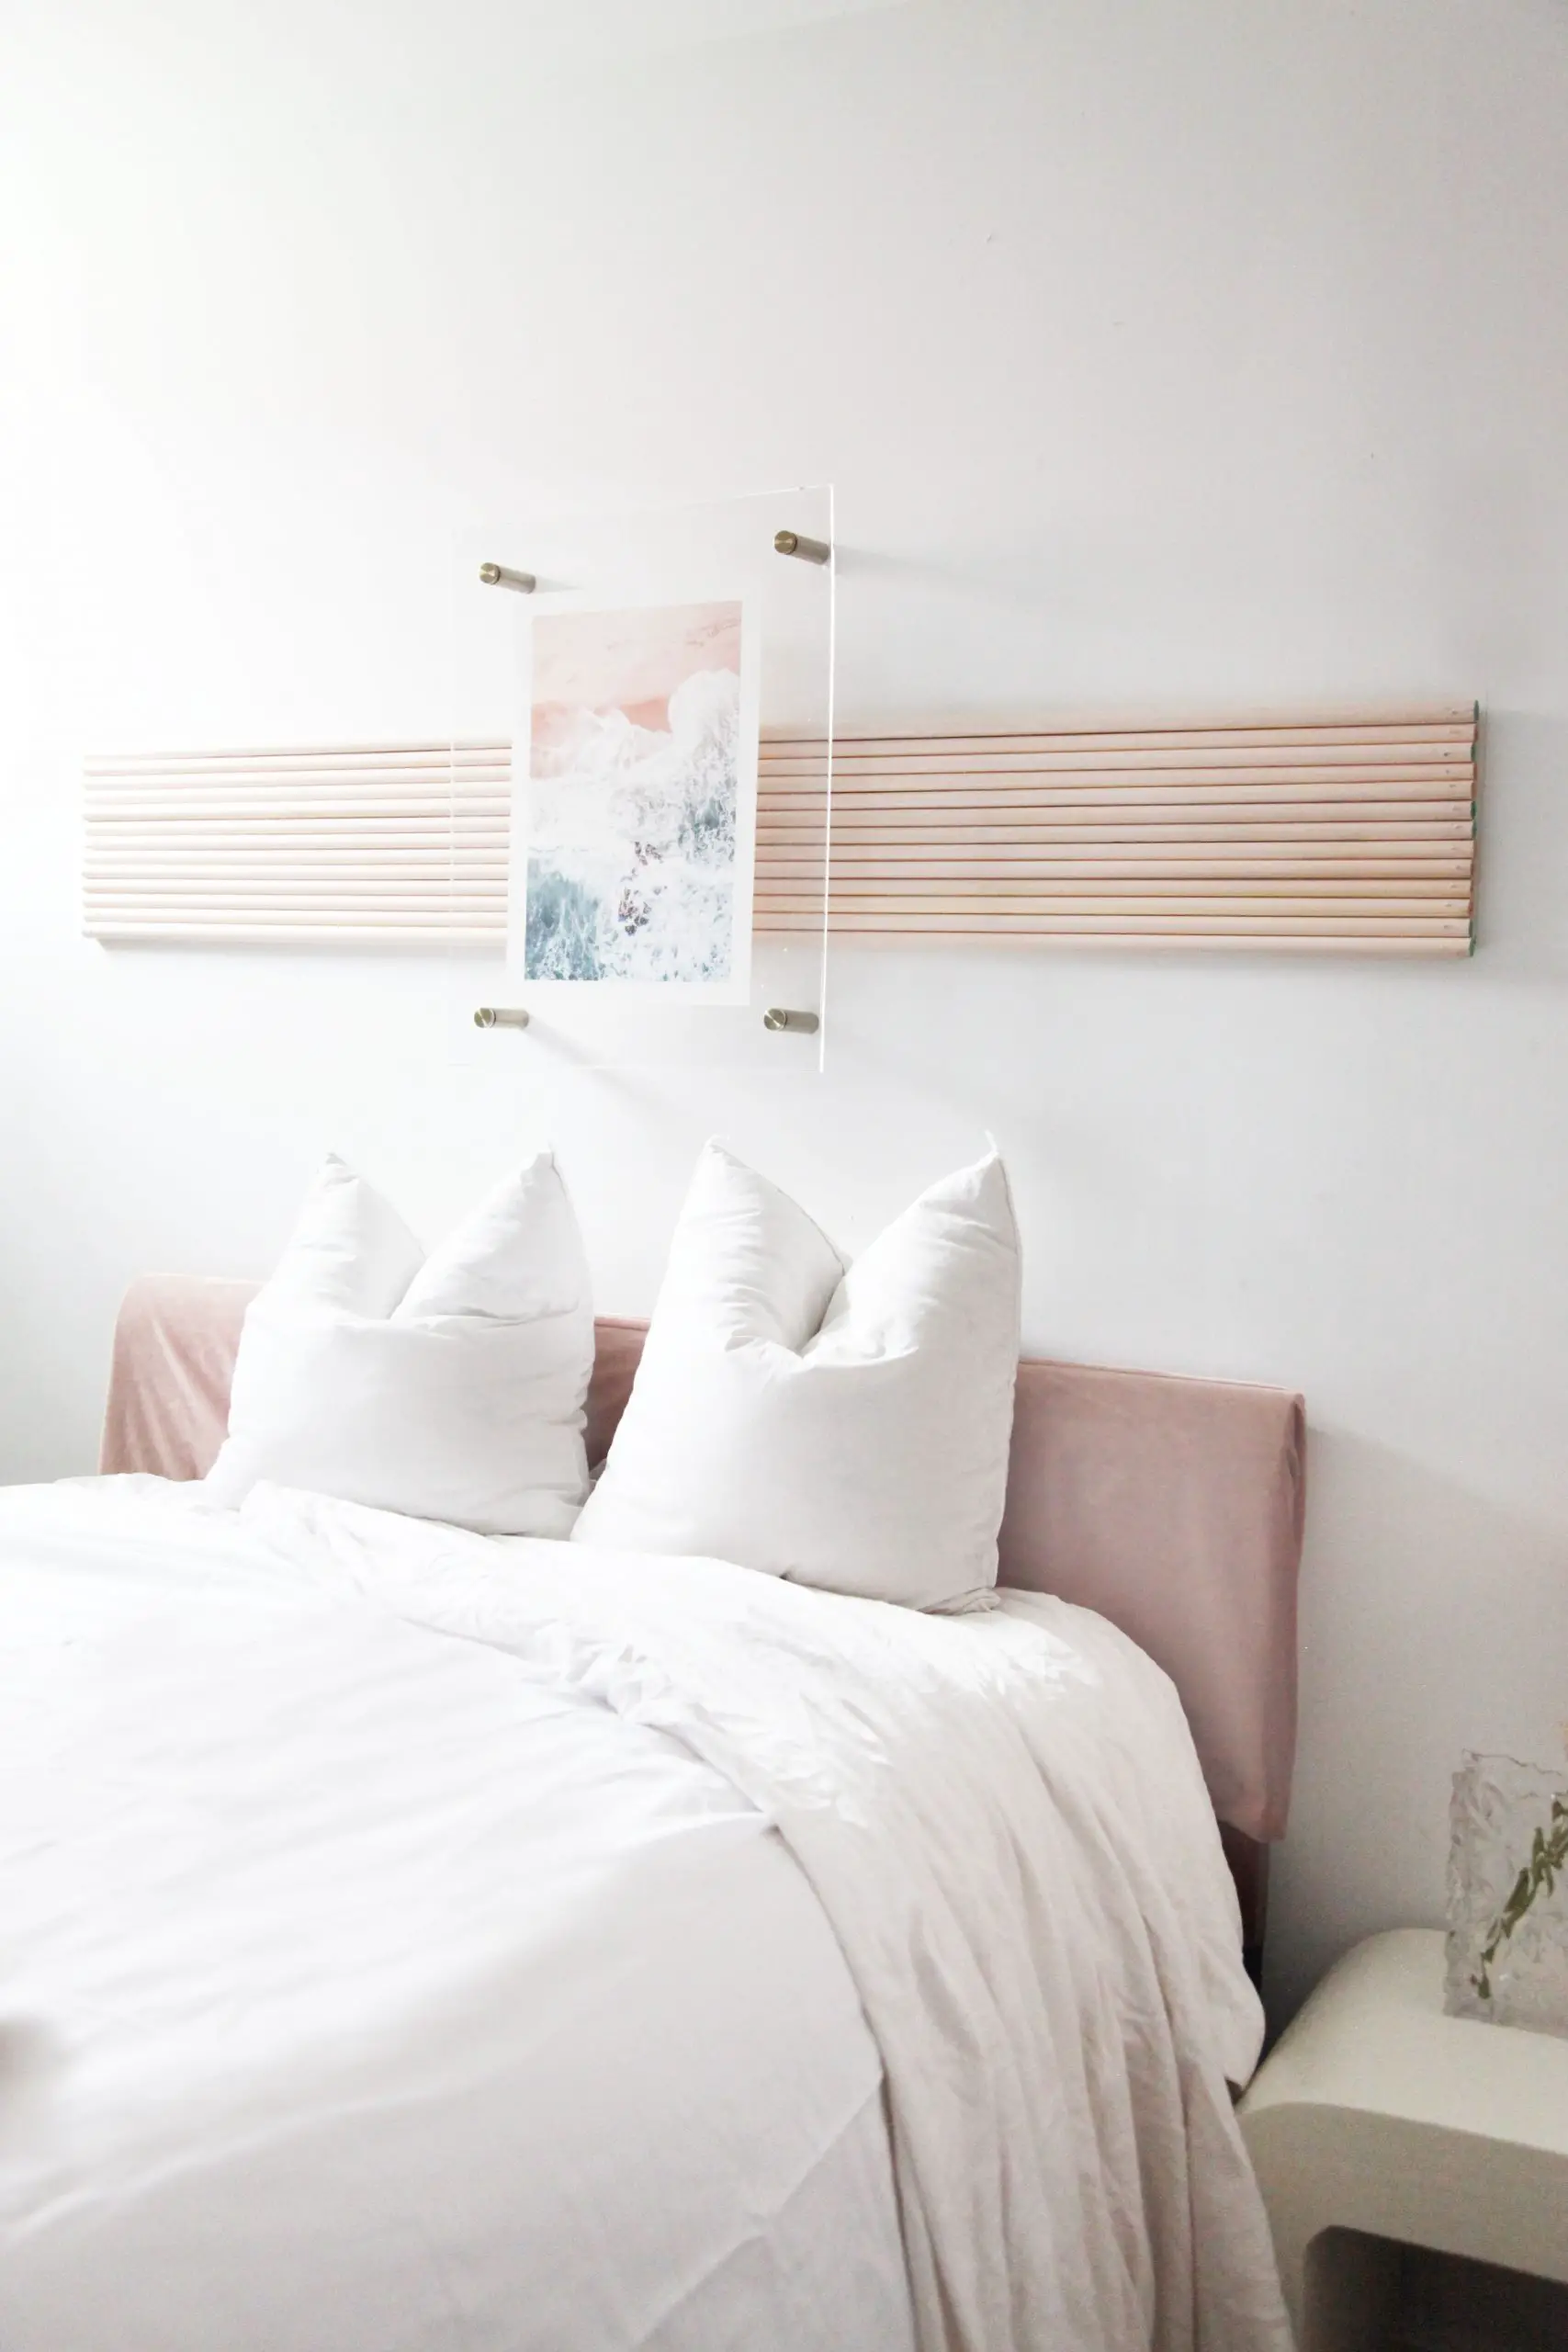
Because this room has a tiny window, I wanted to keep the walls white and bright. I felt like adding wallpaper or painting an entire wall would have been too much. I wanted to do something dramatic, but without making the room feel smaller. I don’t know how I came up with this idea, but I decided to order some dowels and create a statement for behind the bed. I think it looks pretty amazing if I do say so myself! I subtly painted them different shades of blush (I sprayed every dowel with two coats, then took half away and sprayed with a third coat. This created an ombre effect!), and I am totally in love with how it turned out. My dad helped me drill holes through the dowels to save time, and I used white nails to anchor them to the wall. I decided to use nails instead of glue to save time, but you can use either method!

Before anchoring to the wall, I made sure to line the dowels up the way I wanted them to appear!
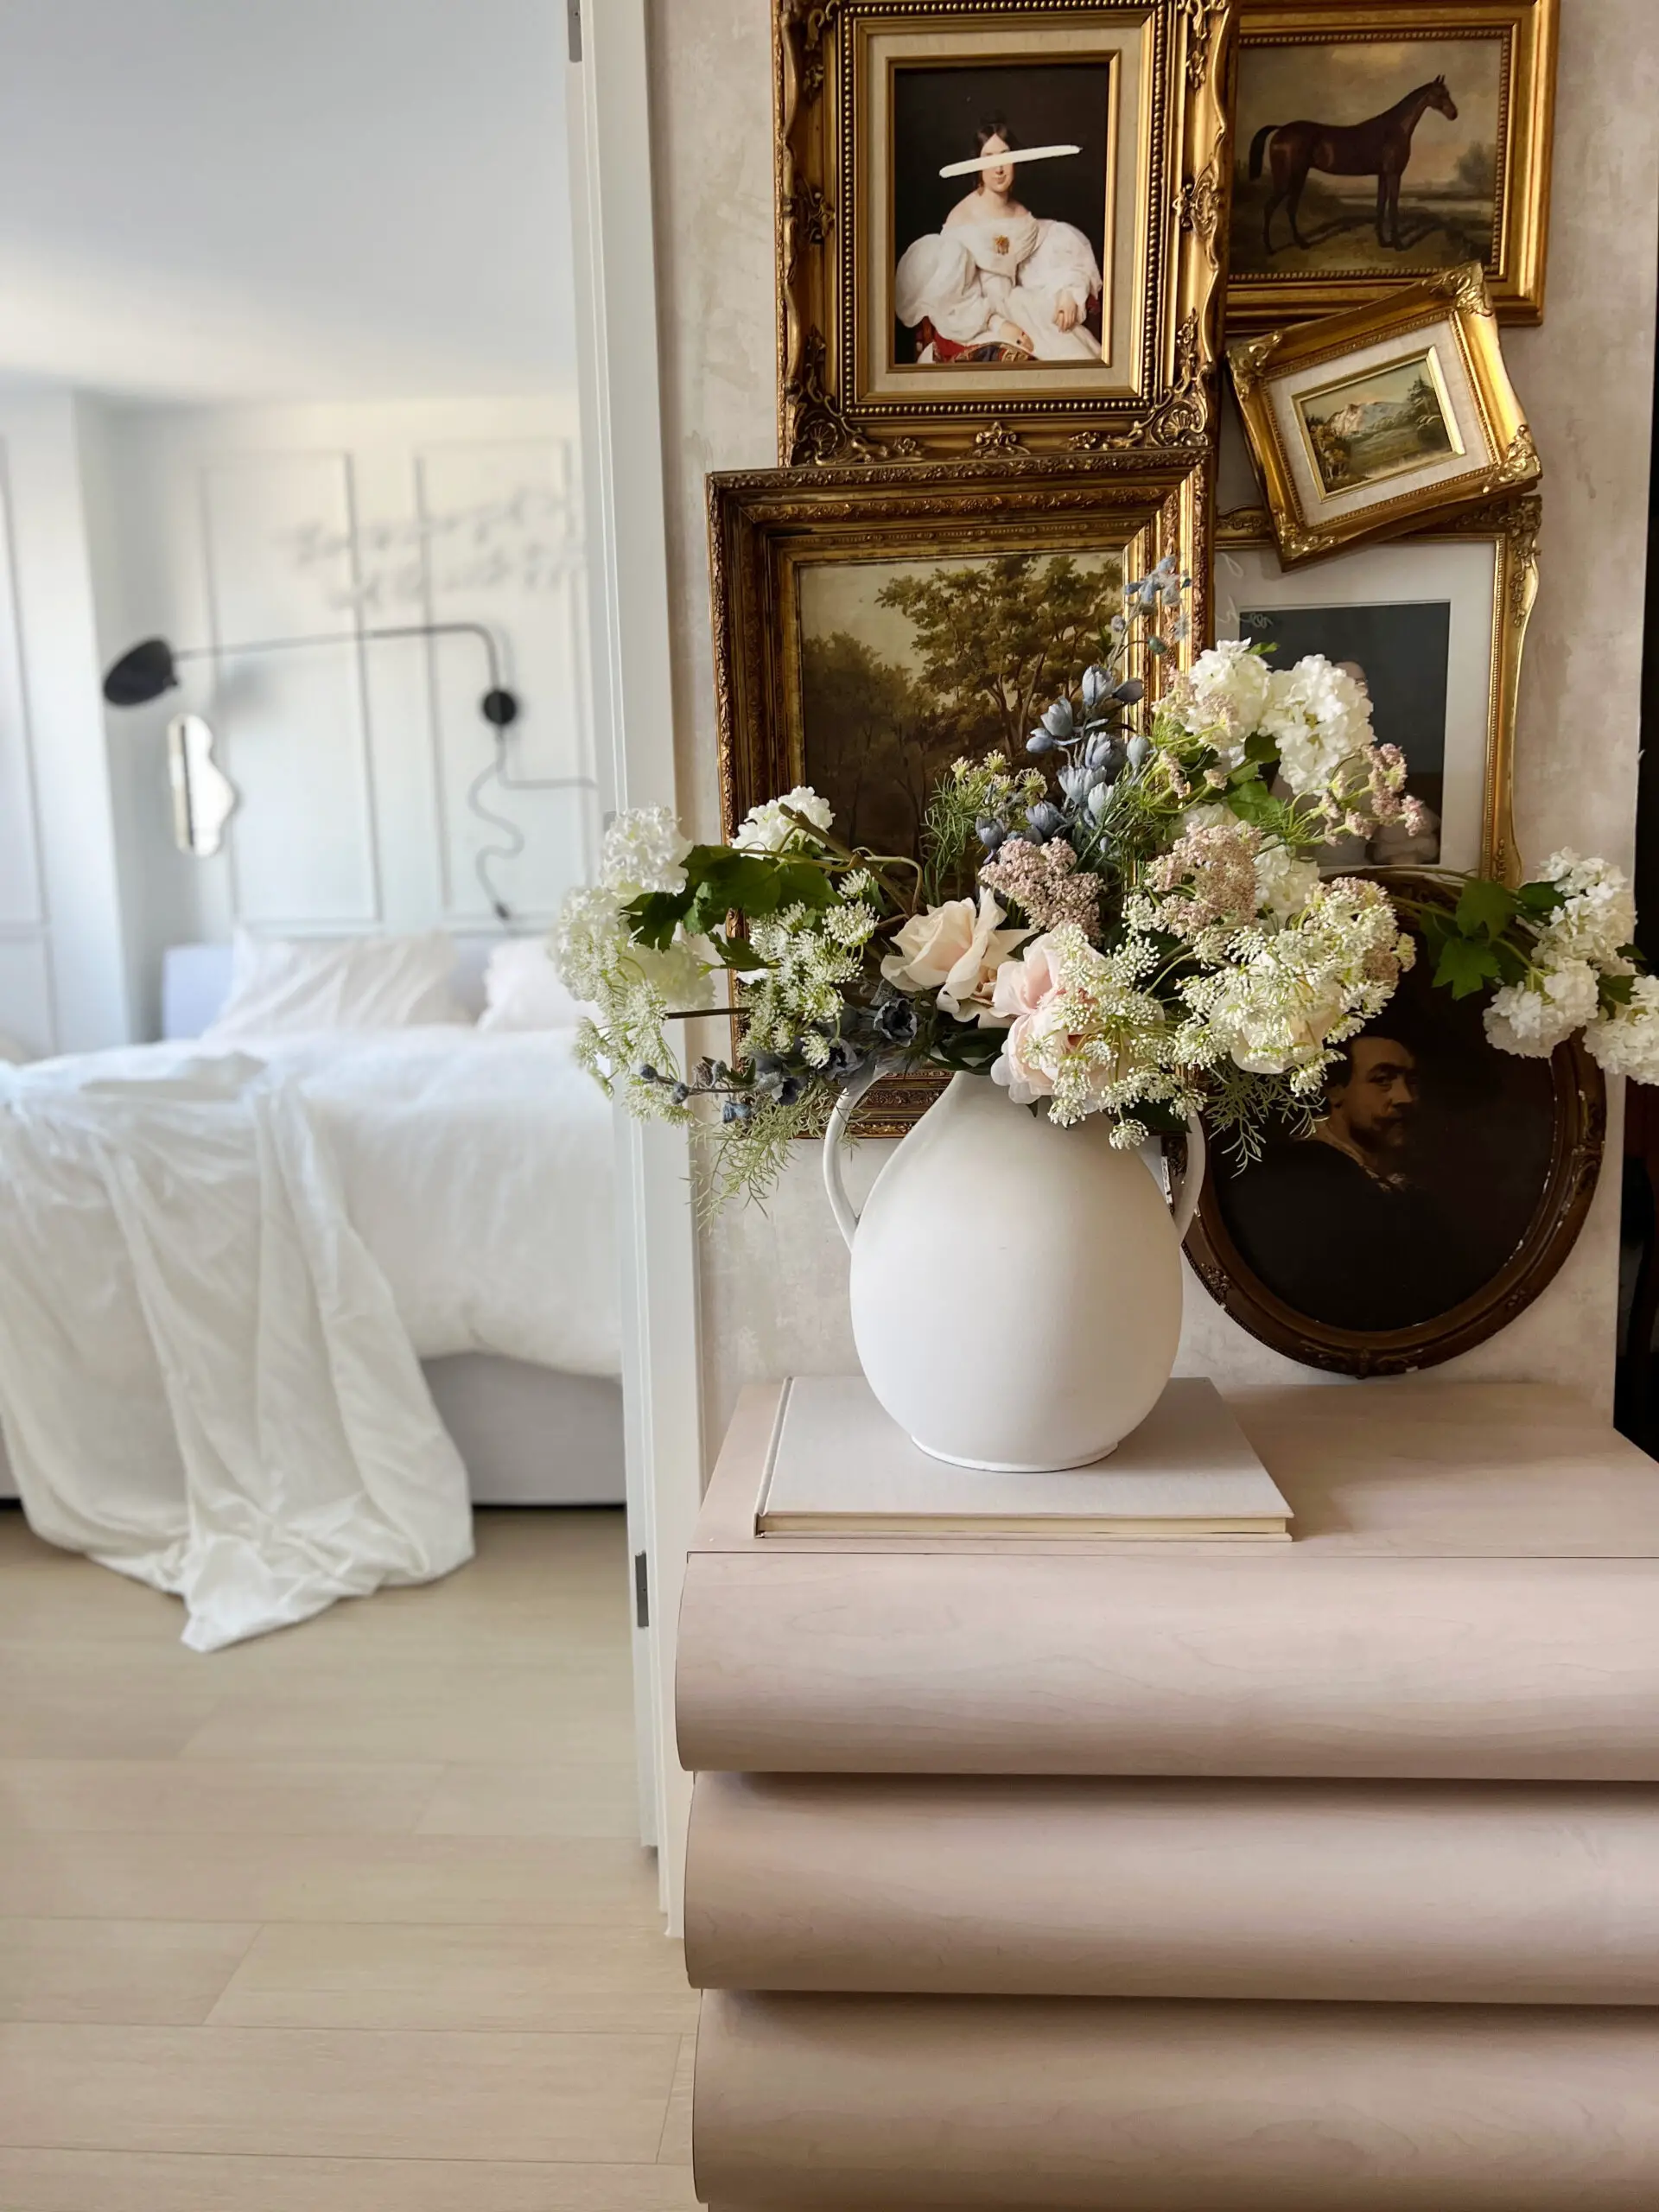
To save money, I also keep the bed frame that was already in the room. Originally, I was going to reupholster my old headboard; however, after removing the pillows, I noticed that my dad’s old headboard was there. I actually loved the look of it but, it just didn’t go with the aesthetic of the room. My dad said he also loved this headboard so I reupholstered it in a way where it’s only sewed in the back. To keep things airy and bright in the room, I just added new, bright-white sheets.

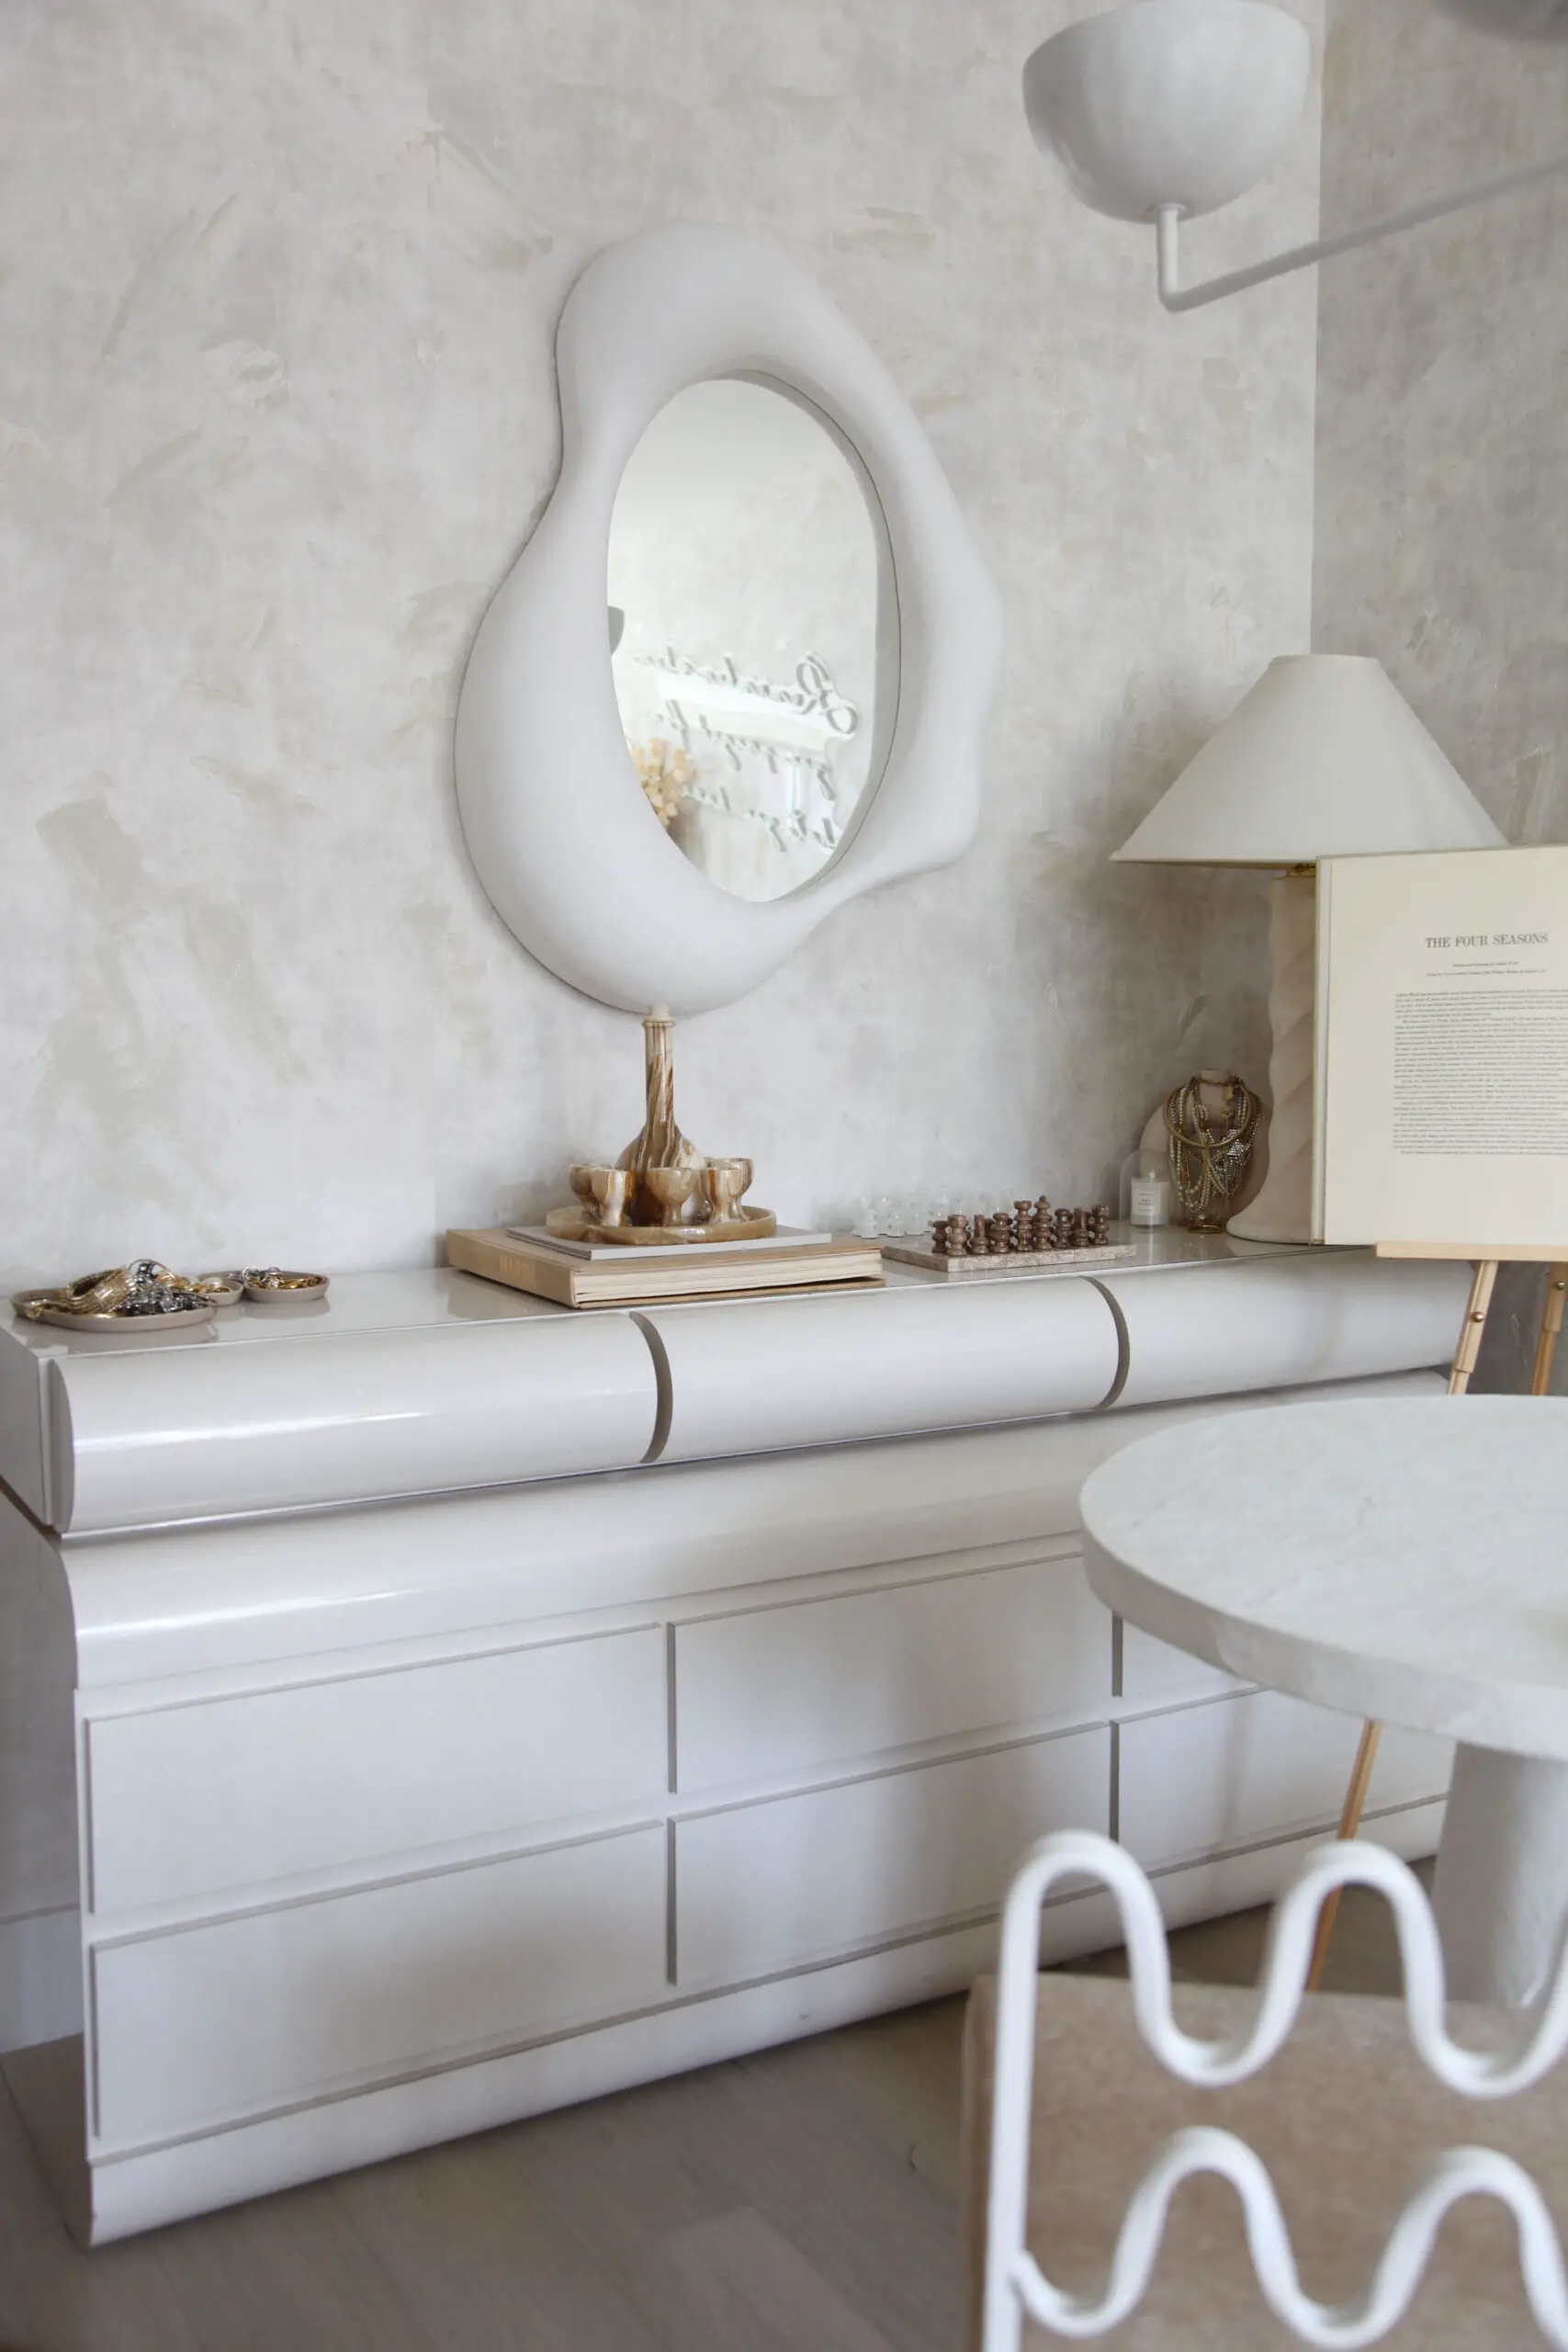
To add a modern, open feel to the room, I found this amazing woven chair on Overstock. It was on sale, and I couldn’t resist getting it! I’ve found a new love for super modern furniture over the past few months, and this truly brought so much character into the space. I started assembling this chair at 9 pm the night before. It didn’t come with instructions, and I ended it up assembling it the wrong way ????. My dad did his “dad thing” and ended up helping me fix it to save some time. Anyways, the chair looks amazing, and I feel like it’s one we can use for years on end!

This side table was the most expensive thing in the room. It was $300, and I knew it was going to be a “splurge” purchase. My parents are always hosting parties (like, 40-50 people per event!), and surface space is always needed. This table can easily be brought upstairs and used as a place for food and drinks when someone is sitting down. So not only does it add a super chic and modern look to this room, but it’s also a functional addition to my family house!

The artwork above was purchased to incorporate some color into the room. I especially love the acrylic frame – In fact, I love it SO much that I might get one for my next apartment! I didn’t want to take away from the dowels (still can’t believe I did that), so I figured an acrylic frame was the perfect alternative to a regular, matted one.
The carpet is truly gross in this room, so the only thing I could do was cover it with a smaller rug. I didn’t want to go crazy with rugs or colors in this space, or it would have made it feel super claustrophobic.
So, what do you think of the transformation??
GET THE LOOK


Well Done Chelsey – as always.
Aww thank you!! It was so much fun to design 🙂
The before and after is like night and day for real! Love the transformation in such a crazy short amount of time. It came out perfect.